The only tool you need to manage your work, teams, and goals


projects

tasks

issues

risks

time

Collaboration
Top Rated Project Management Software


projects
tasks
issues
risks
time
Collaboration
Don’t just take our word for it
Words of praise from our amazing users
“nTask not only focuses on task management but also helps us understand the activities that employees are developing to complete projects, we can see everything. This platform has been key to the development of various activities within the company’s sectors.”
Ana G.
Sales Director
100+ Employees
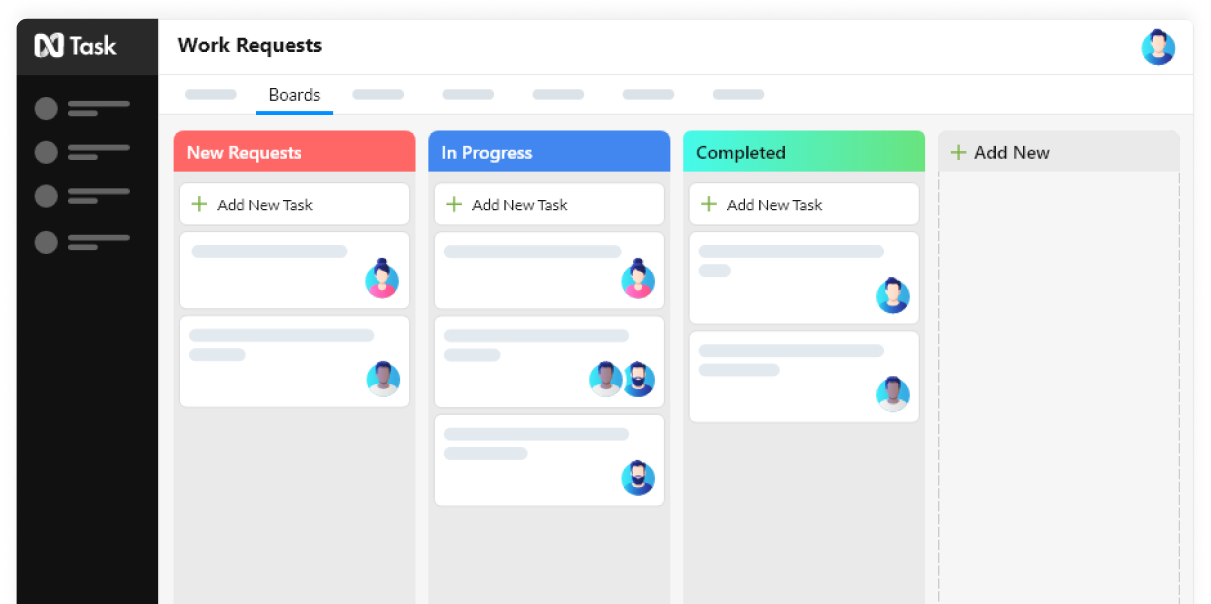
End-to-End Project Management
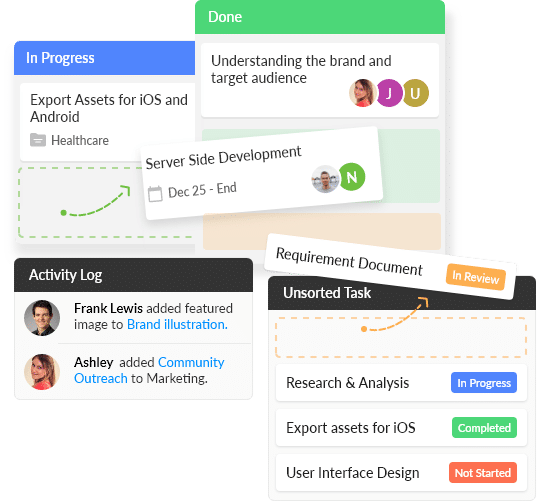
For timely delivery, flexibility, and 4x efficiency, help your team to maintain focus by managing work using our Kanban Boards.
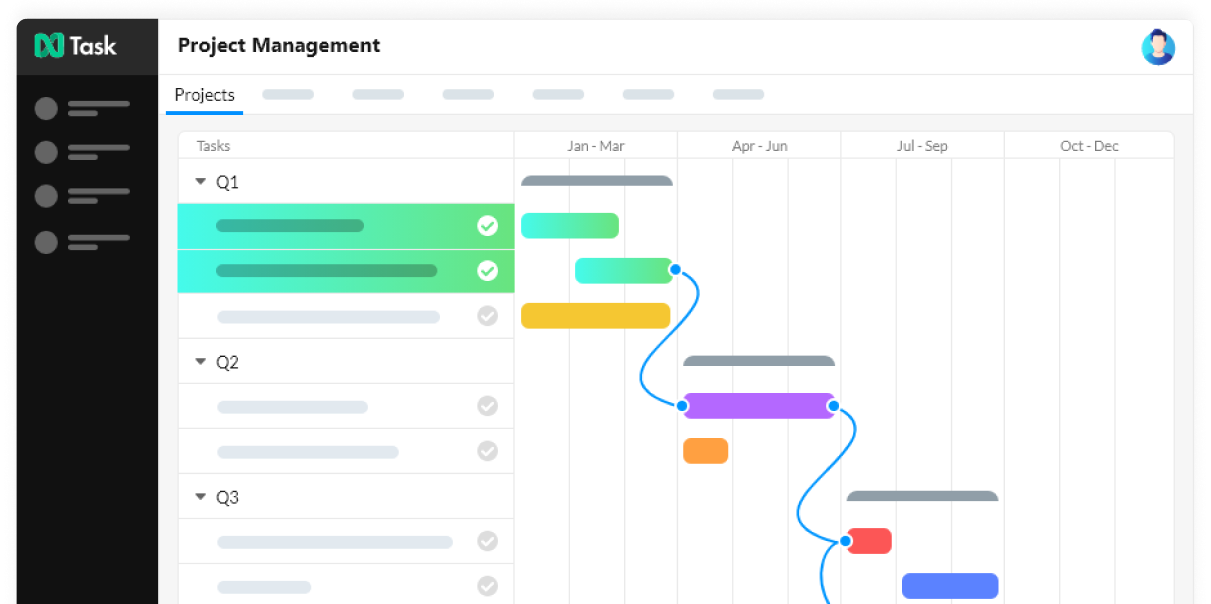
Create user-friendly and visually precise Gantt Charts. Add tasks, schedule due dates, and set task dependencies with the drag and drop feature, speeding up your decision-making processes 10 folds.
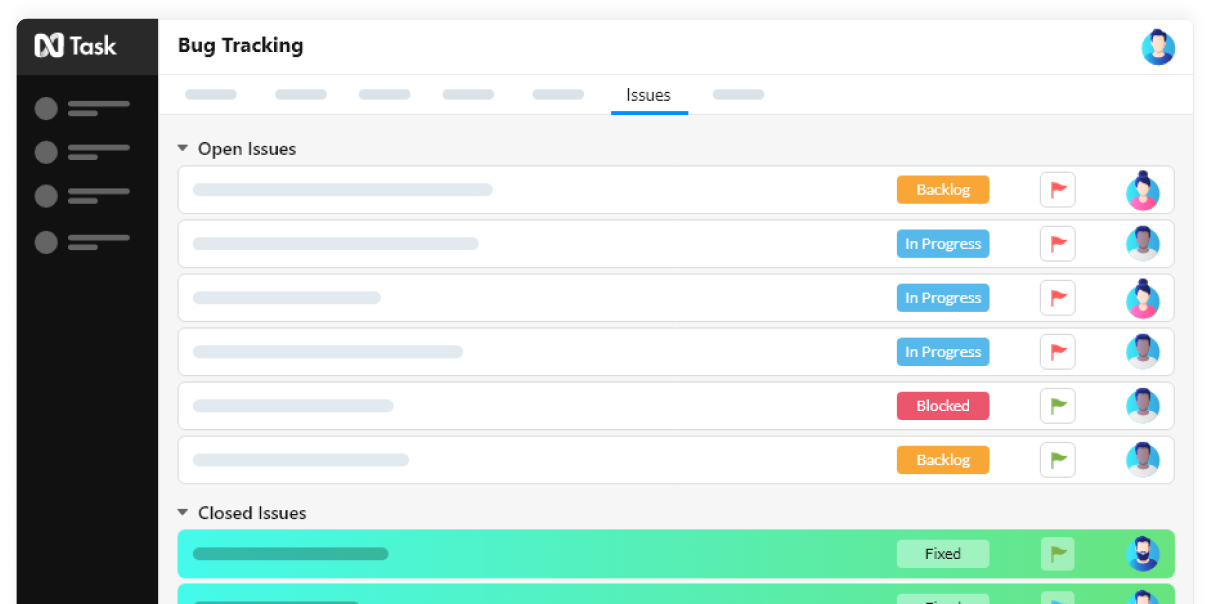
Hassle-free issues management. Track issue progress, set issue severity and assign issue status while having the ability to link it with any tasks or projects.
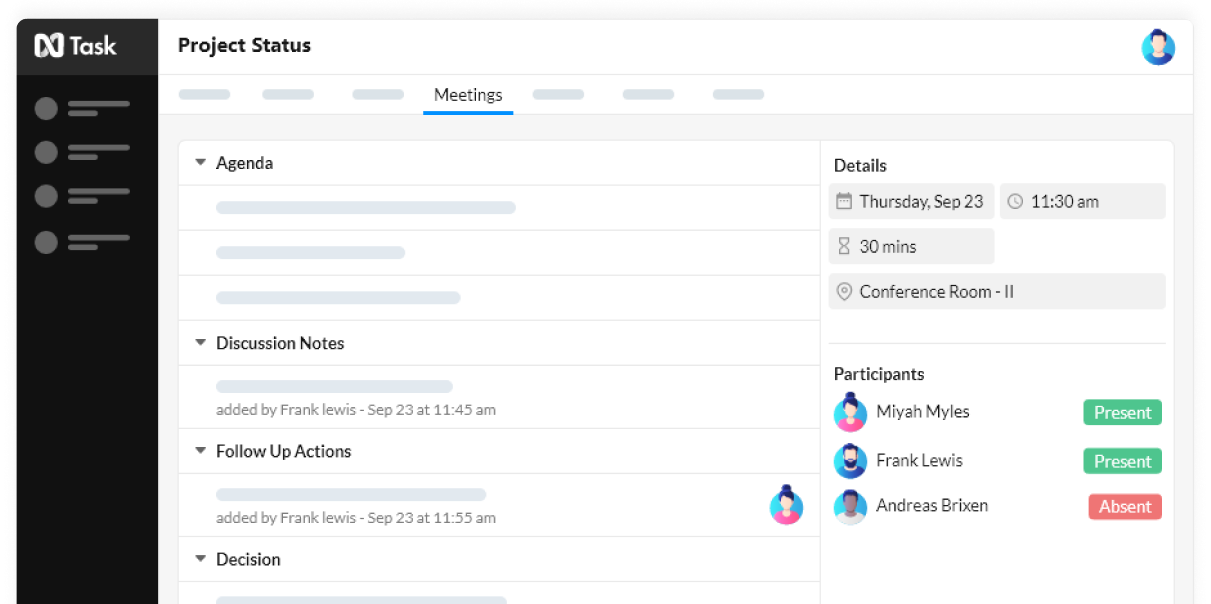
Schedule meetings across teams with the ability to review and edit minutes of the meeting before publishing. Integrate with your preferred meeting software like Teams, Google, Skype, etc
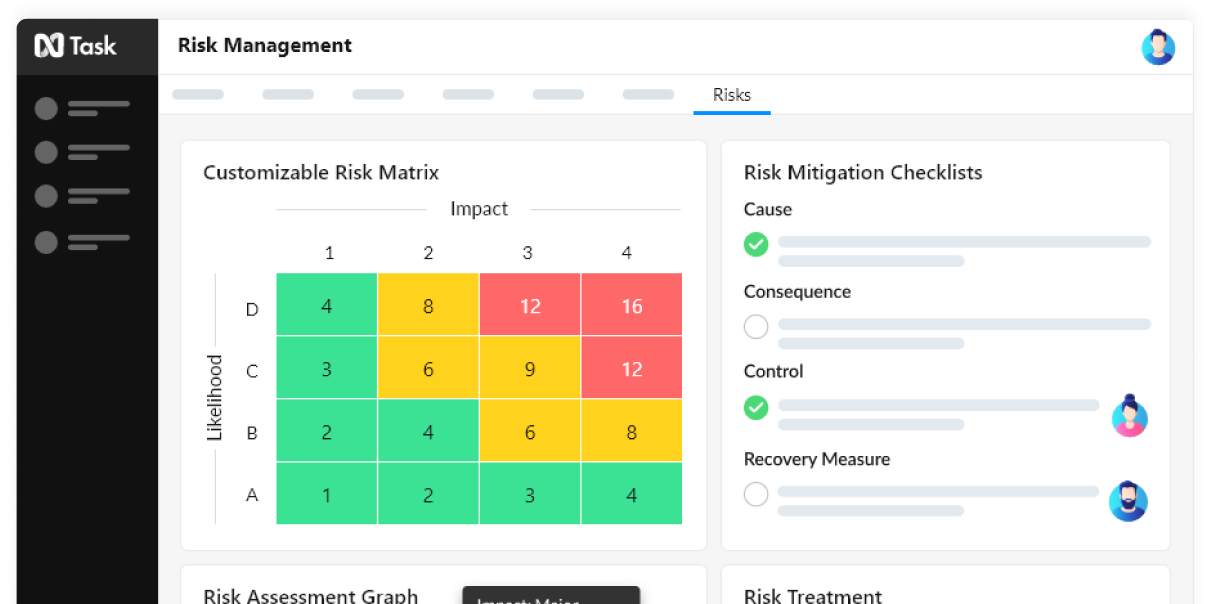
nTask gives you the ability to manage, monitor and evaluate the risk impact with the help of risk matrix, mitigation plans & risk updates.
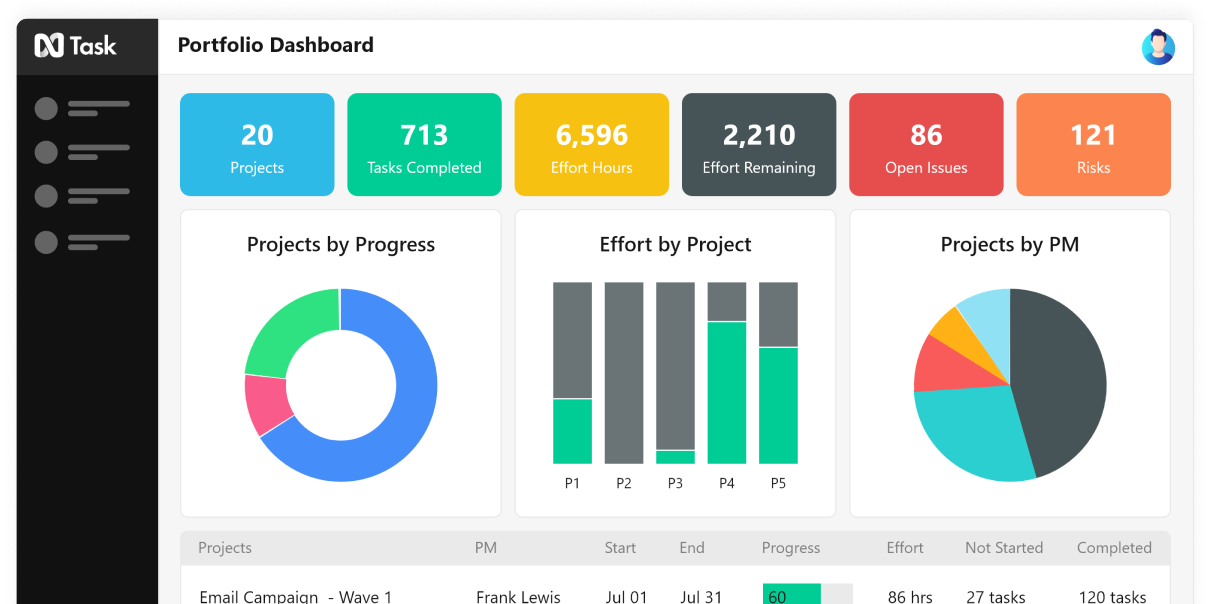
Create visually precise and easy-to-digest reports to keep track of tasks, projects, issues, custom KPIs, and other variables alike.
In-Depth Project Planning
Prioritize tasks for the whole team from one central place, manage all resources, set clear goals, and control costs.
Crystal-clear Project Updates
Design your own workflows, set task reminders, use predefined templates, or make your own, without limits.
Stay Focused on What’s Important
Mark deadlines, set accountabilities, reflect priorities, and keep everything sorted, always.


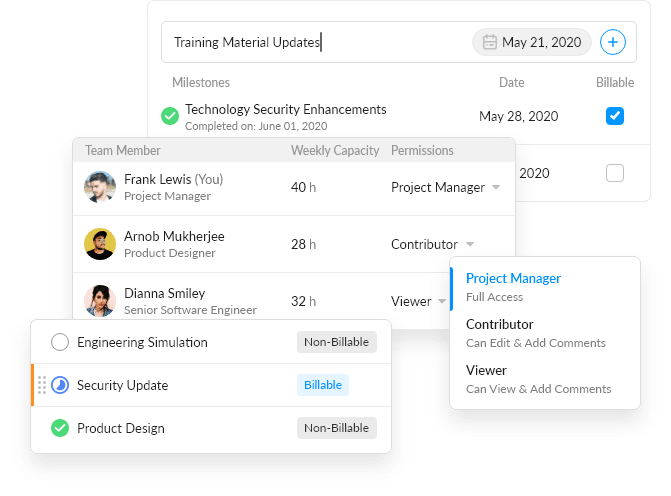
Track Time Spent
Log time spent on projects, mark time as billable or non-billable, know exactly how your team is spending time.
Keep Your Team in Sync, Always
Work together, chat together, keep your teams organized – real-time updates on all tasks and projects.
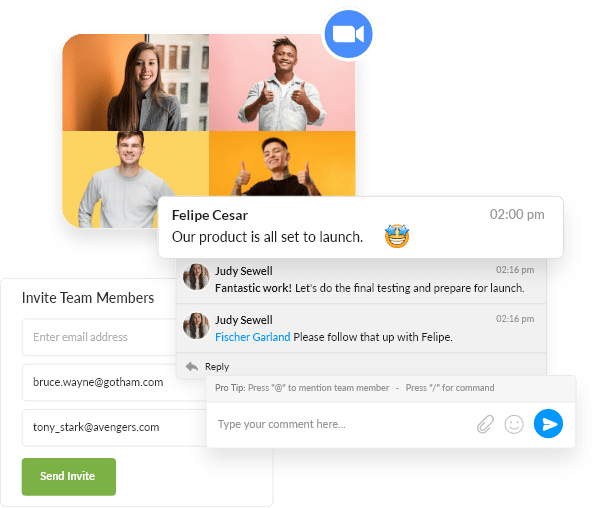
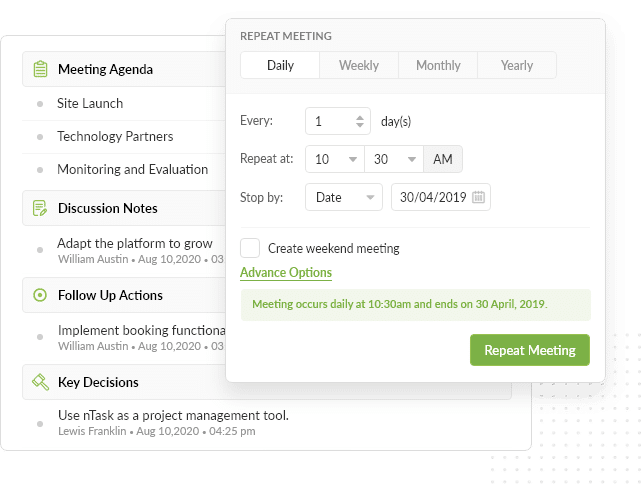
Less Meetings, Better Meetings
Have clear agendas, use any calendar platform, manage meeting outcomes like a pro.
Book a time with us to get a demo, personalized to your use-case
“Rai has been amazing with us from day one, he helped us understand how we can make the best out of nTask and helped our whole team with the onboarding too.’
Sasha T
Principal Risk Manager
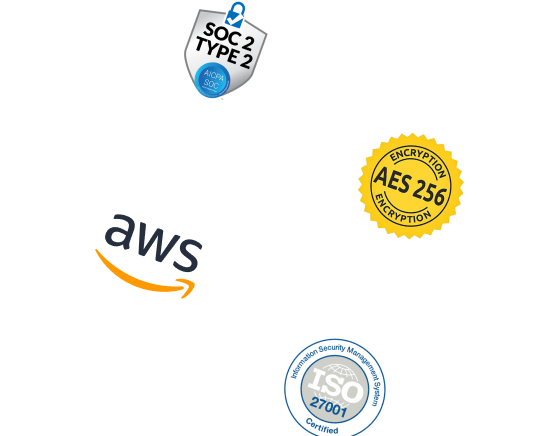
Security and Compliance
Need extra security? Get enterprise-grade security coupled with modern compliance – HIPAA, GDPR, and PCI-DSS.
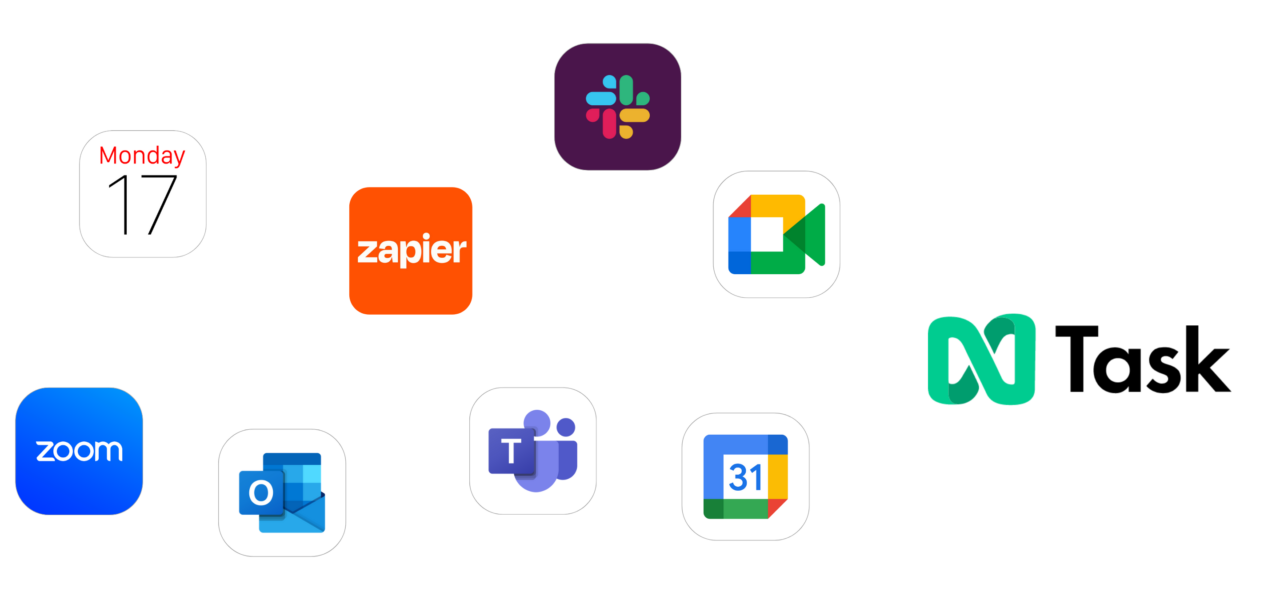
Integrate with your favorite apps
nTask teams up with your favorite software, plus connect with 1000+ apps powered by Zapier to have all the tools you need for your project’s success.
Got Questions?
Our support goes all the way. We love hearing from customers and visitors and are always happy to help.
“It is easy to use and visually attractive. Also, I can start a chat with customer support any time I need it.’
Andrea F
Sustainability Coordinator


